As the manufacturing industry is democratized by 3D printing, the technology is also being studied, researched, tested and used by people from different industries. The technology is not limited to engineers, but designers, hobbyists, and enthusiasts also use the technology and construction products.
However, 3D printing is not as automated as any manufacturing technology in general. It takes a lot of trial and error. By gaining experience through constant changes and tweaks to settings and the appearance of bad printouts, users learn the nuances of the technology.
The “Road to 3D Printing Success” series
With the same hands-on experience, Manufactur3D brings you the “Road to 3D Printing Success” series in which we focus on helping any 3D printing enthusiast by sharing tips and techniques for 3D printing success. By explaining how to work with various filaments, cutting machines, construction software and even 3D printers, we aim to help users always experience a successful print.
In this article, we explain how you can be successful in 3D printing with flexible filament.
What is a flexible filament?
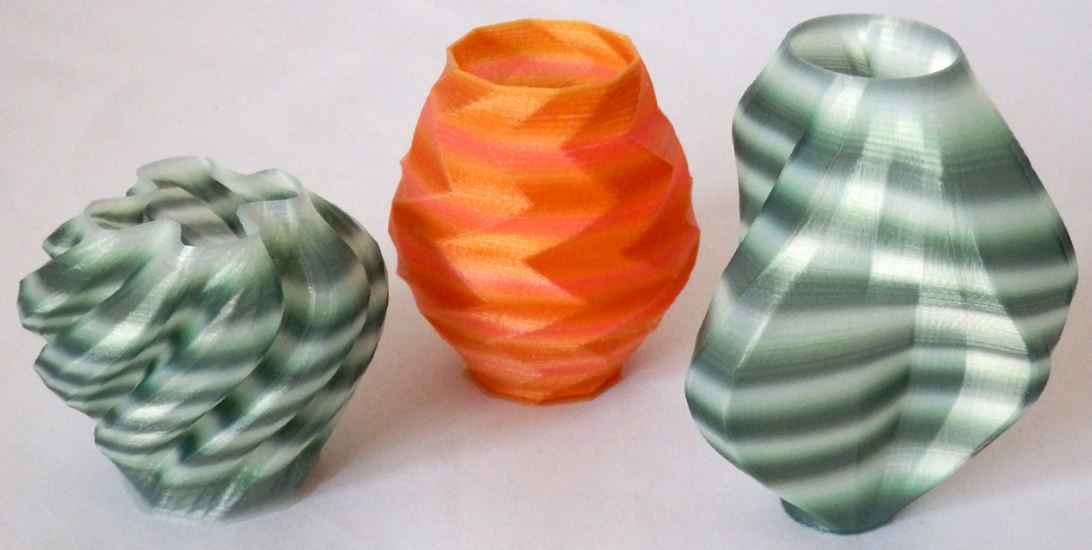
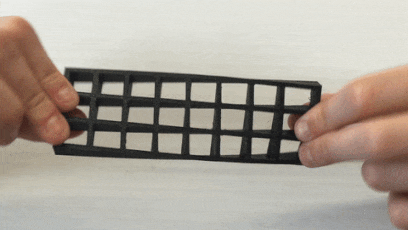
Above: Part 3D printed in flexible filament / Photo credit: Voodoo Manufacturing
As the name suggests, a flexible filament is an elastomer that is generally made up of thermoplastic elastomers (TPE) and is a combination of polymer and rubber. The amount of rubber in the mixture determines the elasticity of the filament and depends on the application it can make. Flexible filaments are often found in two types: thermoplastic elastomer (TPE) and thermoplastic polyurethane (TPU). Both filaments are more or less similar, but offer slightly different properties. TPU offers greater rigidity than TPE and is therefore comparatively easier to print.
The flexible filaments can be easily bent and twisted when force is applied, but return to their original shape when the force is removed.
General print settings
Printing temperature: 200 ° C to 250 ° C.
Bed temperature: 50 ° C to 75 ° C.
Printing speed: 20-30 mm / s
Also Read: The Most Common Types of 3D Printing Filaments
Tips for flexible 3D printing
Slowly and steadily
Unlike many 3D printing filaments that can be printed at high speeds, flexible filaments must be printed at extremely low speeds. Materials like PLA, ABS, etc. are hard and easy to extrude at high speeds. However, because they are elastic and soft, the flexible filaments are difficult to extrude. When the extrusion speed is high, the extruders will pull on the filament and this will stretch the filament resulting in under-extrusion. This leads to failed prints. Therefore, to be successful, it is important to drive slowly and steadily. The printing speed should be close to 20-30 mm / s. The slower the speed, the better the pressure.
While some experts believe it is safe to use the Bowden tube, others argue that the material should be fed directly into the extruder assembly to avoid failure, eliminating the tube for flexible filaments.
It is also important to have a steady feed rate. Sudden changes in feed stretch the material or re-block the extrusion path, causing errors. While the initial layers are at a high rate of advance, the settings should be checked for those areas where the changes may suddenly occur and appropriate corrections should be made.
Avoid pulling back while printing
It is imperative that retraction should be completely avoided when printing with flexible 3D printing filament. The constant extrusion and retraction causes printing problems. Sometimes it gets under-extruded and on other occasions it gets over-extruded and even clogs the extruder assembly.
Keep the filament dry
It is always recommended to dry the filaments before printing. Additionally, while people avoid this simple step, drying a flexible filament is important before actually printing.
Filament drying in the oven
 Above: Special filament dryer / Photo credit: PrintDry
Filaments are generally dried in a forced air oven at 70 ° C to 90 ° C, depending on the type of material being dried. It is important to understand what material you are drying before adjusting the temperature.
The oven should be preheated and then the coil should be allowed to dry for about 4-6 hours. After drying, the filament must be stored in an airtight container with a desiccant.
Note: Contact the manufacturer beforehand.
A dried filament always prints better and gives better results. The prints are smooth and nice to the touch and feel good. It also reduces the chance of filaments breaking halfway during printing.
Filaments are also dried in special products designed to dry spools of filament.
Direct drive extrusion system
 Above: Direct Drive Extrusion and Bowden Tube Extrusion System / Photo credit: Forefront Filament
For flexible filaments, the direct drive extrusion systems work best. Since in a direct drive system the material is fed directly into the hot end after extrusion, while in the Bowden extrusion system the extruded filament is passed through a Bowden tube and then fed into the hot end. It is very difficult to print with a flexible filament for printers without a direct drive extrusion system.
Close the gap between the filament and the extrusion assembly
During printing in a printer with a direct drive extrusion system, the gears pull the filament as it extrudes the material into the heater. While it’s not a problem for hard filaments, it definitely causes problems for flexible filaments. This can cause the filament to stretch, resulting in under-extrusion.
The further the distance between the spool and the extrusion assembly, the greater the likelihood that the filament will be drawn and stretched. It is therefore recommended to mount the pool near the top of the printer. This way the filament will fall off under gravity and not be pulled.
If you closely watch the print you can unroll a small amount of filament to avoid stretching.
Note: You have to look carefully so that the unwound filament does not get tangled.
Temperature control
Make sure the print temperature is set correctly. If you are unsure about the temperature, print out the sample parts, refer to them, and make the changes below
Also read: Common 3D printing resins for the photopolymerization of vats
Covering
 Above: Excessive Stringing Example / Photo Credit: Ultimaker
If you see a lot of strings, then you need to gradually lower the temperature. The covering is done by melting an additional length of material than ideally should be. The extra molten material continues to drip and when the extruder is moved it sticks to the layer and causes threads. So the problem here is the high temperature.
Gradually decrease the temperature and observe the pressure. Stop when the stringing stops.
Bad layer adhesion
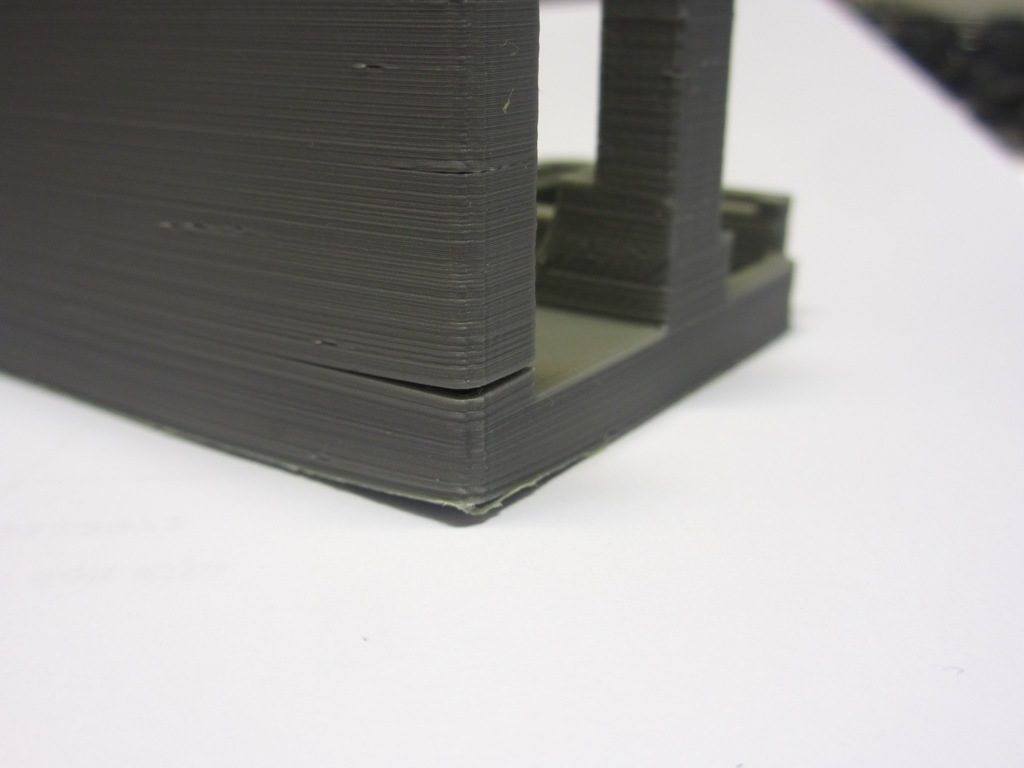 Above: Example of poor layer adhesion / Photo credits: 3DHubs
If you find that the material does not adhere to the previous layer, that is, poor layer adhesion, then you can conclude that the temperature is low. You need to raise the temperature of the heater so that it will adequately heat and melt the material.
Continue increasing the temperature until clear lines are printed.
Note: While the manufacturer may share the ideal printing temperature factors like ambient temperature, humidity, filament moisture content, printer settings, and calibration, it will affect the actual printing temperature.
Important considerations
tolerance
When designing a tight fitting part with a flexible filament, the tolerances should be kept negative as the flexible part can be stretched to fit the other part. This holds the fit in place. A positive tolerance is loose and only dissolves more with use.
Create platform
Flexible filament generally has good bed adhesion and even a simple glue or painter’s tape on the build platform or a bed like a PEI will help the first layer adhere better.
Layer height
When printing with a flexible filament, keep the initial layer height in the range of 0.1mm to 0.2mm. Because small layers improve layer adhesion, the print has more chance of success.
While desktop 3D printing isn’t standardized across brands, it’s actually a boon in disguise. Desktop printing is a democratized version of industrial 3D printing technology and will continue to operate on a trial and error basis. It is important to always experiment and tweak your print settings to get better print results.
Through the ‘Path to success in 3D printingAt Manufactur3D, we will continue to publish informative articles to help enthusiasts around the world learn more about this amazing technology.
We encourage readers to leave comments and contact us if they have any questions about 3D printing and we will try to resolve them for them.
About Manufactur3D Magazine: Manufactur3D is an online 3D printing magazine that publishes the latest 3D printing news, insights, and analysis from around the world. Read more such informative articles on our 3D printing information Page.