While my humble family has not yet been struck by a disaster, there is no shortage of emergencies worldwide, and the COVID-19 pandemic has shown how useful even desktop 3D printing can be in disaster situations. Given the ability to review an Ultimaker S3 3D printer and several unique filaments, I thought I’d explore 3D printing simple goods that might be useful in emergency situations to get an idea of how useful a desktop 3D is -Printer could be.
As well as providing an overview of the subject, I also reviewed the Ultimaker S3 and spoke to Ultimaker about using desktop 3D printers in emergency and disaster scenarios. Perhaps the most exciting prospect for me at the beginning of this series was creating metal objects with a desktop system.
To explore the possibilities of metal fabrication with a desktop 3D printer for plastic filaments, I turned to the Virtual Foundry, which makes filaments and pellets from metal particles in a thermoplastic binder. After printing, the part can be sintered in an oven, resulting in a dense metal part. In a subsequent article we will go into more detail about the virtual foundry and how it works.
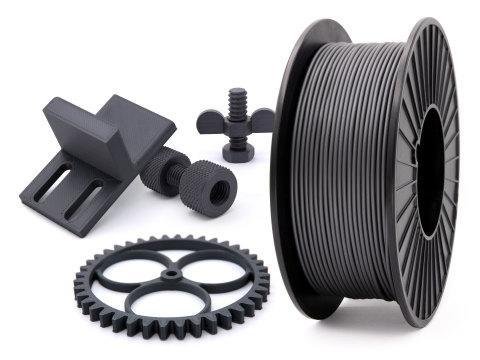
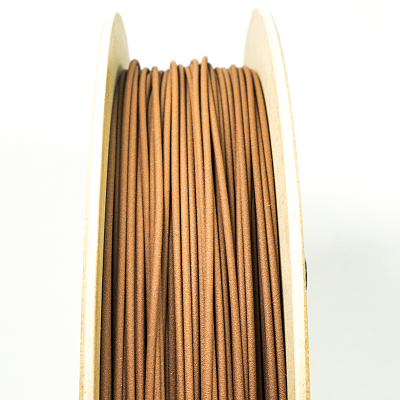
Copper filamet can be purchased from the virtual foundry for about $ 66. It contains 89% – 90% metal with a density of 4.5 g / cm³ – 4.7 g / cm³. Image courtesy of the Virtual Foundry.
I printed the virtual foundry’s copper filamet on the Ultimaker S3 to see how easily a novice can make metal parts with a desktop machine in a disaster or emergency scenario. As someone with no 3D modeling knowledge, my first step was to find a part that would work as a demonstrator of the concept and be the main barrier to using a 3D printer in an emergency.
Without the right skills, my choices of suitable models were severely limited. Since metal AM is primarily reserved for high-end manufacturing companies, almost no models specifically designed for metal 3D printing are publicly available. Instead, public repositories like Thingiverse are dedicated to plastic parts.
So I had a couple of options: choose a model for plastic 3D printing and produce it with the Copper Filamet or design something yourself with user-friendly software. I tried creating something with TinkerCAD, one of the easiest online modeling programs to use, but ended up going with existing models.
I used the Filamet to print something that I discovered at the height of the COVID-19 3D printing hype: a hands-free door opener with multiple tools. The SafeKey was developed by the British startup Fractory and can not only be used to operate doors, cabinets, ATMs and other items that are shared with the potentially contagious public without having to use your hands. At the same time it acts as a bottle opener and wrench. Fractory made the tool from CZ108, antimicrobial brass with a copper content of 64 percent, which limited the chance of disease transmission.

Unfortunately, there are no photos of the pre-sintered version of my SafeKey, but it was printed just as smoothly as this copper device that the Virtual Foundry hosts on their website. Image courtesy of the Virtual Foundry.
So I reached out to Fractory, received a STEP file of the SafeKey and converted it to STL using an online tool. Since copper, like CZ108, has inherent antimicrobial properties, I 3D printed the SafeKey from Copper Filamet on the Ultimaker.
To print with the filament, I selected the material profile from the Ultimaker Marketplace. Although Cura recognized the copper filament, I had problems getting the Ultimaker itself to boot up the profile when I tried to load the filament. This means that the 3D model of the SafeKey was cut according to the correct settings for the copper filamet, but the Ultimaker was not optimized for loading the material into the printhead. I had to choose a material with settings that most closely matched the filamet and load it that way.
Before printing, I made sure the bed was completely clear of previous plastic prints and cleaned the extruders using the Tough PLA provided by Ultimaker and the instructions on the LCD screen. This involved hot and cold plastic pulls until the material emerging from the hot ends was smooth and cylindrical.
Once it was loaded, printing was extremely easy. The filament adhered perfectly to the bed. As explained in my previous post, the second extruder for carriers gave me some problems because I clogged it with polyvinyl alcohol filaments. This meant that I limited myself to less complex structures, which was not a problem with the SafeKey as it was already designed for CNC machining.
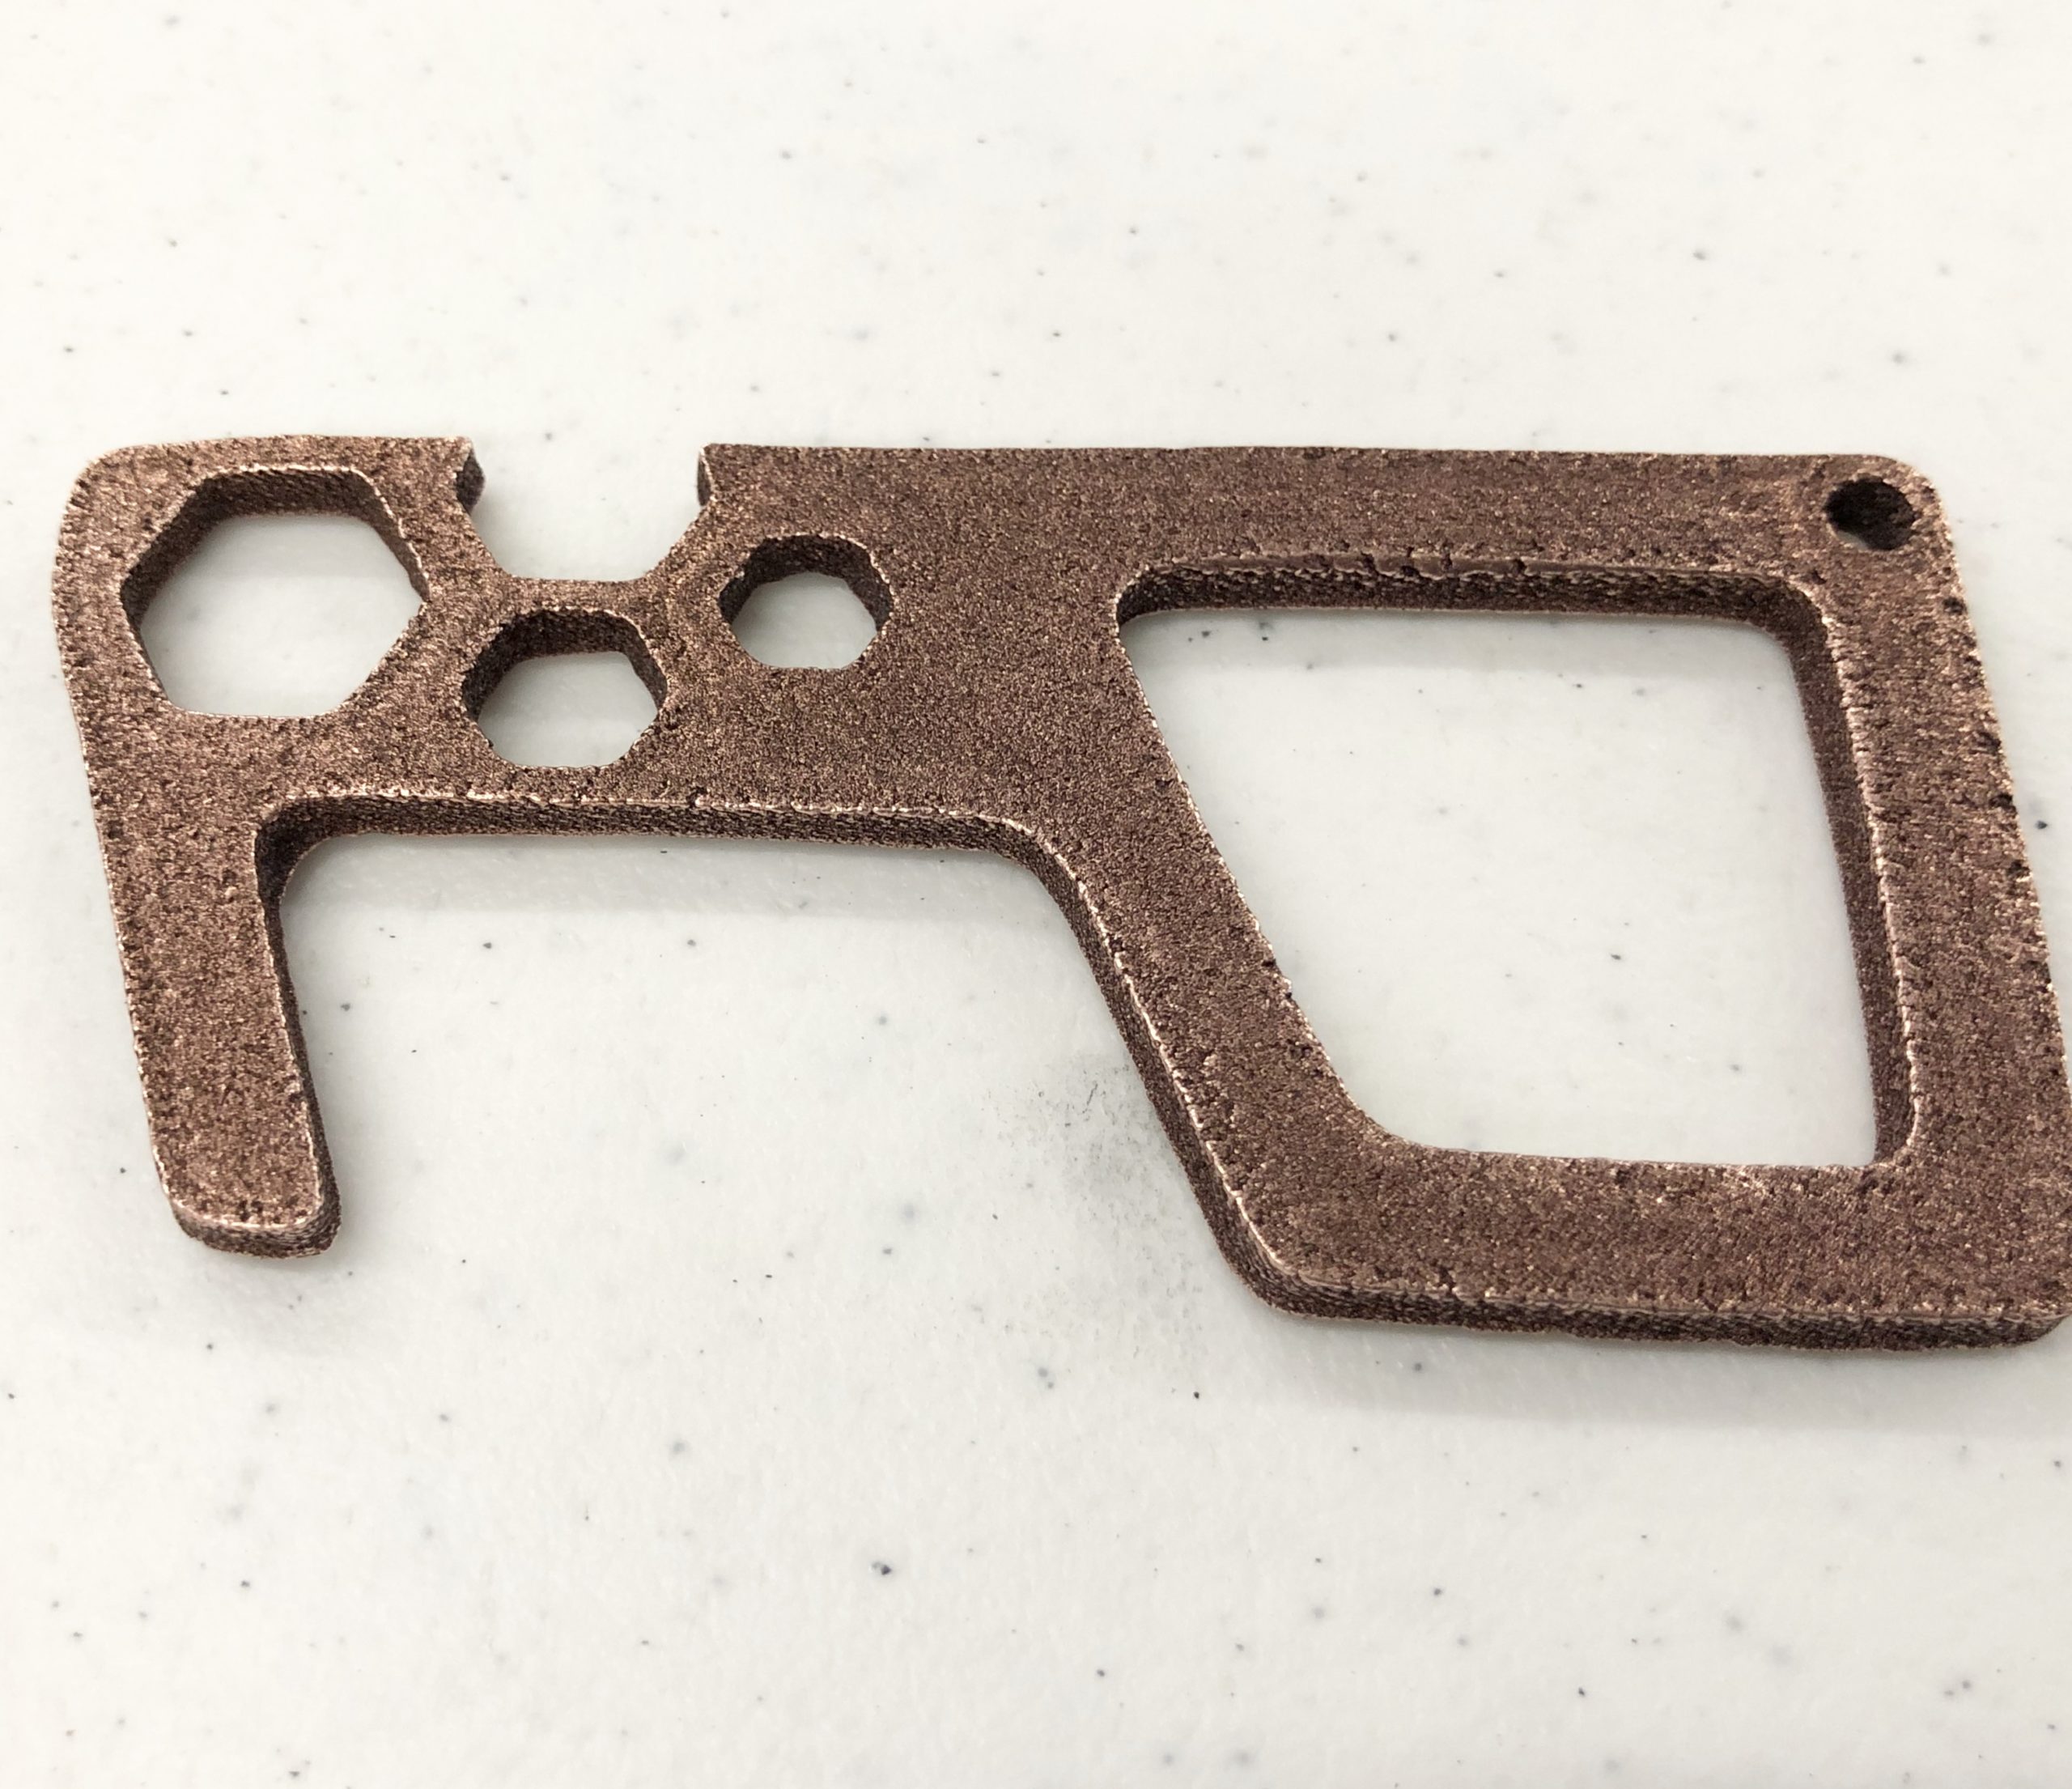
My 3D printed SafeKey after sintering. Made from copper filamet.
The part that was printed on the first attempt. Unfortunately, it was extremely sensitive and I snapped it in half while getting it off the bed. I printed again and again had no problems. Now, however, it was my job to sinter it into a metal part.
Initially, I reached out to a local art studio that offered the kiln for firing clay pottery, but due to the pandemic, the instructor had closed her business. In return, I contacted a nearby makerspace that she had donated the stoves to, but they were too busy to take on the project.
Another option I had was to buy an oven. For example, the virtual foundry sells equipment that starts at just over $ 3,000. Since this was a one-off project, I couldn’t justify the investment, of course, but luckily the virtual foundry has entered into a partnership with the sintering service provider Sapphire3D. The company agreed to sinter my part for free as I reviewed the material and had already made similar products to the SafeKey. If they weren’t providing free services, Sapphire3D sintering ranges from $ 50 for a 50mm x 50mm x 50mm copper part to $ 190 for a 4 x 4 x 4 100mm part Inch x 100mm x 100mm) 17-4 stainless steel part.
I sent the printed part to Sapphire3D, who sintered it and returned it with a turnaround time of about ten days. I was very excited to receive the final component and was thrilled to be holding a metal SafeKey that I had printed just days before. To test its durability, I only flexed the tool to see that it was split in half. My joy turned to devastation just as quickly. I reached out to the Sapphire3D team to find out what went wrong.
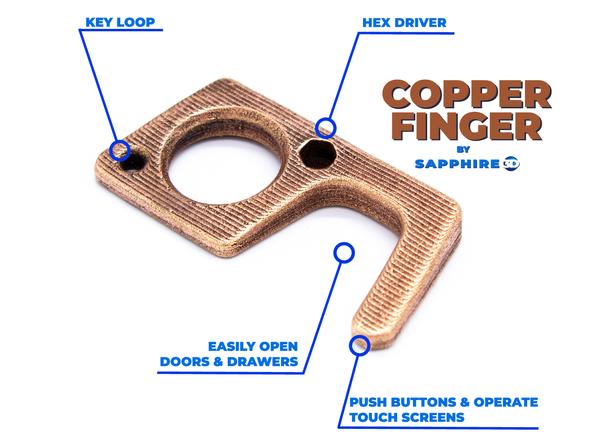
While my SafeKey snapped, the 3D printed copper finger that Sapphire3D sent me is pretty dense and sturdy. I’ve tried several times and it didn’t even bend. Image courtesy of Sapphire3D.
Although there were recommended printing parameters for the Copper Filamet online, the very first mistake I made was not to double the thickness of the tool, which was originally designed for CNC all-metal. David Lawson of Sapphire3D also recommended that the edges of the device be slightly rounded to increase strength. Lawson summarized his recommendations for me as follows:
“Your part was one that I was looking at when you sent it and thought this could lead to an improved sintering result based on the design and printing parameters. You can reinforce a thin part by making sure that the printing process really fills in all the cavities as much as possible, not only having 100% fill, but also making sure that there is a fill overlap (with the perimeter) of more than 50 % is present. It was a great first attempt to print with these materials, but I noticed a lot of cracks on the surface that will likely lead to areas of failure after sintering. “
While I was disappointed with the failure of my first Copper Filamet part, I was somewhat comforted by a free hands-free door opener that Lawson included when sending my part back. All experience has shown that the production of metal parts at the touch of a button is still out of reach, even if desktop metal 3D printing is essential for beginners.
As with desktop plastics, there is a learning curve. In this case, I was faced with a lack of design skills, a lack of furnace, and a lack of experience with both the materials and the sintering process. Had I had my own oven I could have learned some of these tricks. It is likely that smaller businesses can do this with relative ease as well.
In a follow-up post, I will speak to the Virtual Foundry team to learn more about the different materials and how those with the appropriate skills can help with emergencies and disaster scenarios. The interview helps us determine what types of parts their materials are suitable for. Then I will discuss my experiences with an investment casting material for 3D printing and the resulting metal parts.